Debugging
This section describes the various debugging methods included in OptiNiSt.
Setup Conda Environment
If the Conda environment used by each Node has not yet been created, there is a function to automatically generate it in advance. By using this function, you can separate the normal Node processing from the Conda environment creation processing, making troubleshooting easier.
1. Checking for an Existing Conda Environment
If a Conda environment is not installed on the node, a message will indicate that Conda is not available.
2. Automatically Reproducing the Setup Conda Environment
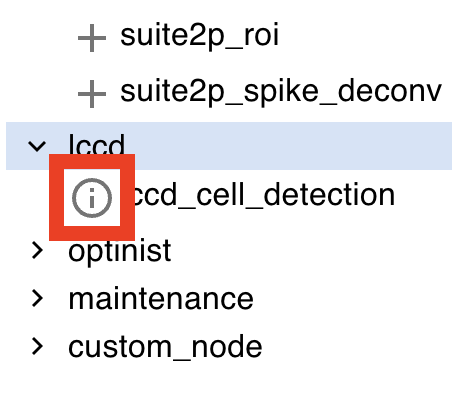
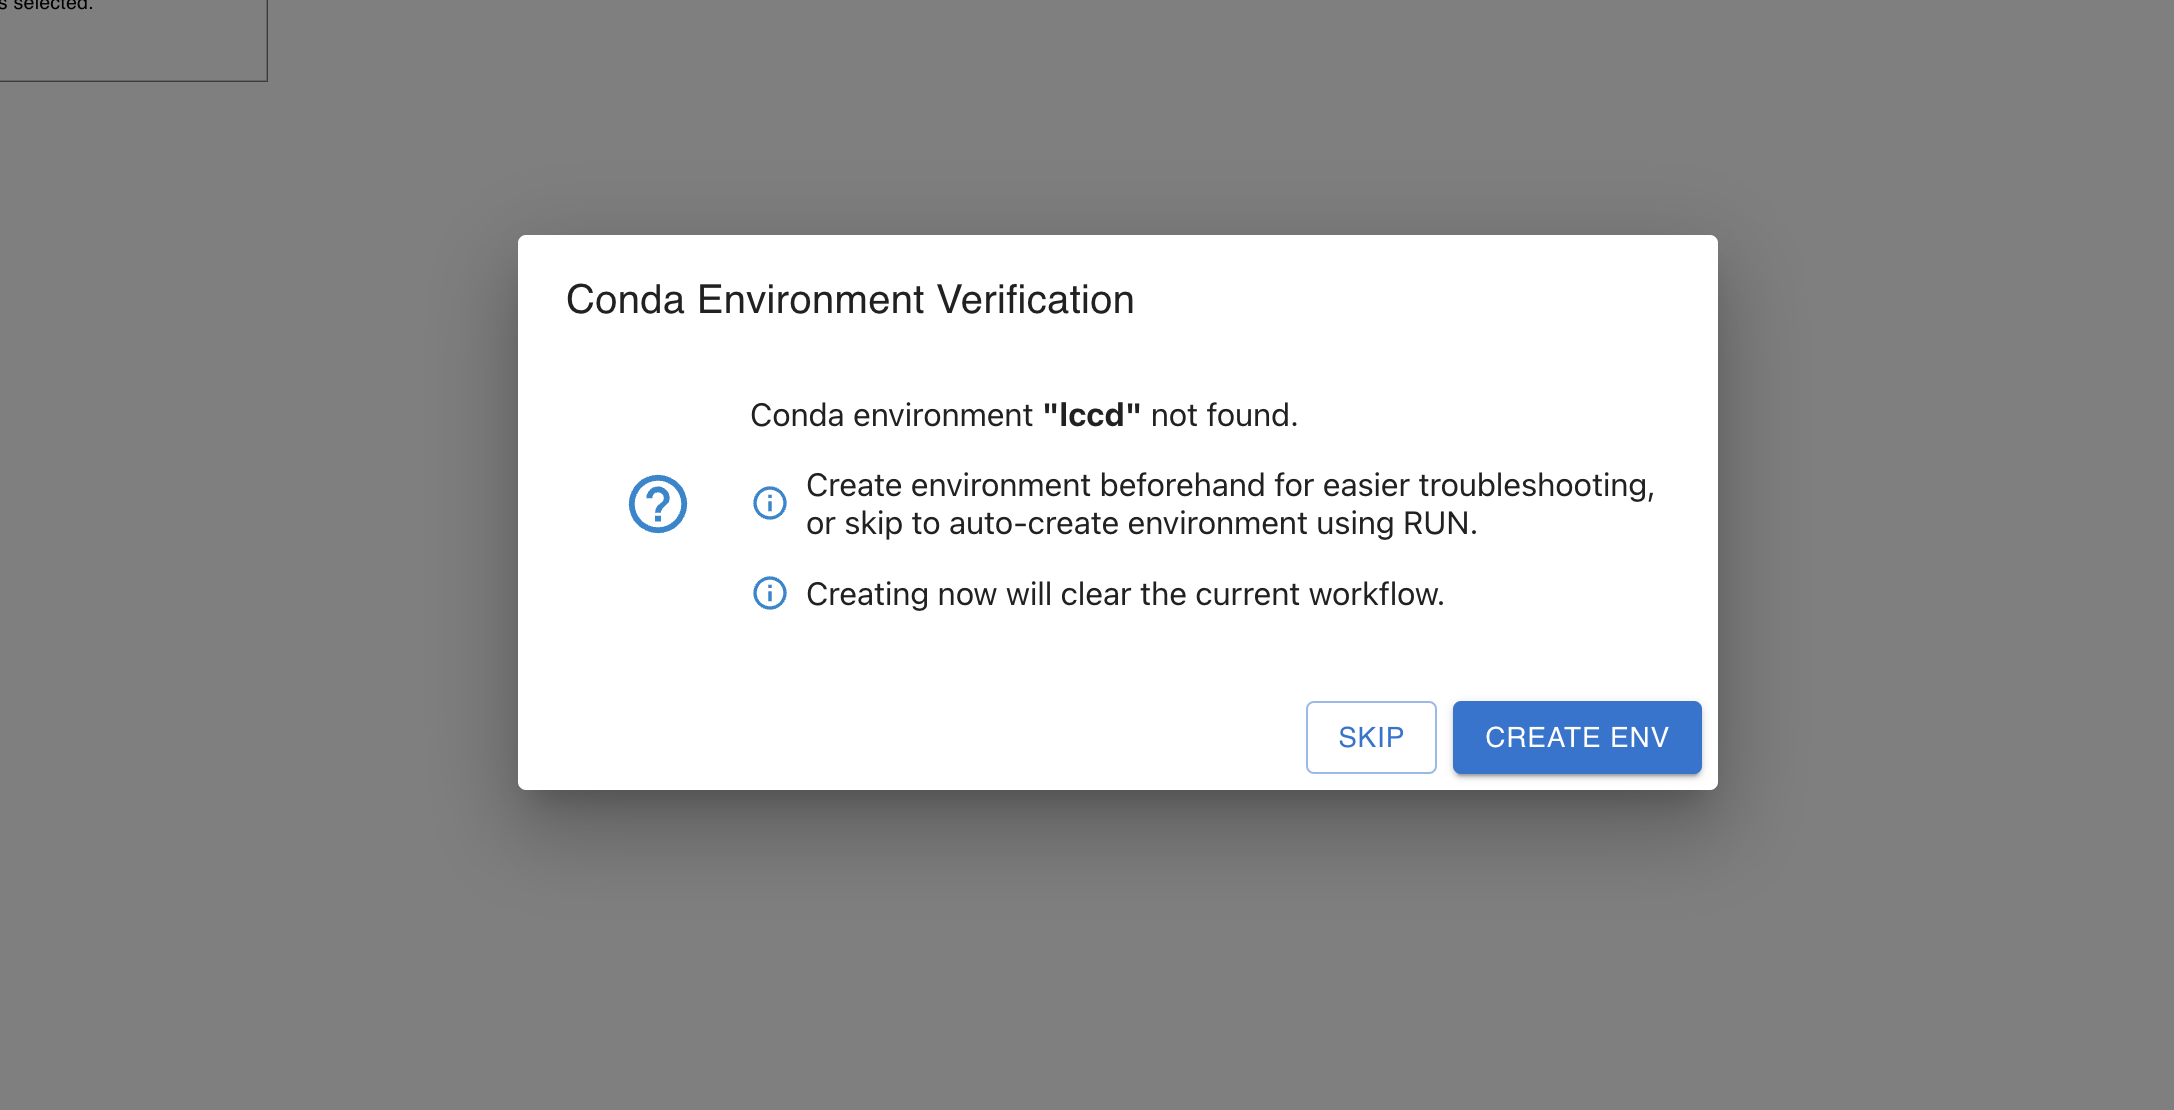
Clicking the “i” button will open a pop-up window asking if you want to automatically set up the environment for the selected node.
To proceed with the setup, click “CREATE ENV” to reproduce and configure the Conda environment automatically.
Note: Using “CREATE ENV” will load test data during conda environment creation. After creation, you will need to recreate your workflow manually.
If you do not wish to set up the environment, click “SKIP” to bypass this step. When performing RUN or RUN ALL, any required environments that have not been setup, will be setup automatically.
3. Completion of Setup Conda Environment
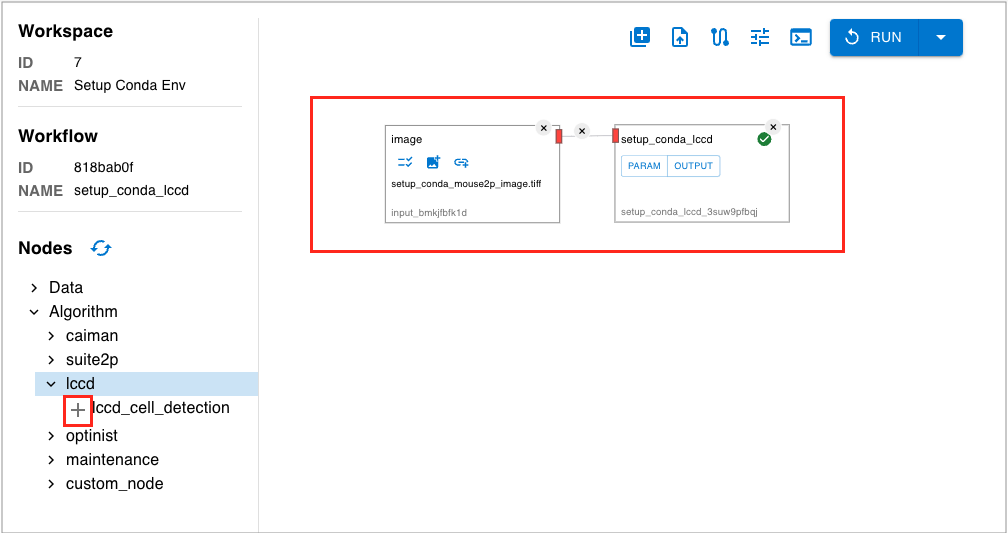
Once you select “CREATE ENV” and the automatic processing of the workflow for environment creation is completed, the “i” button will disappear.
As long as you are using the same version of optinist, once the Conda environment for each node is created, it will not need to be rebuilt.
IPython notebooks
OptiNiSt provides several IPynb notebooks in the notebooks folder: caiman.ipynb, suite2p.ipynb, lccd.ipynb. These may be used for assessing where in the code an error is occurring. This can be useful when the Conda environment loads, however, somewhere in the ROI detection or plotting an error occurs.
The notebooks folder also contains an IPynb notebook for adding your own algorithm, see here for details.
Back-compatibility (previous OptiNiSt versions)
Python version Note that version 1 of OptiNiSt used python 3.8, while version 2 uses python 3.9. This difference may cause some errors to occur when upgrading version. Please refer to the OptiNiSt Wiki FAQ for up-to-date solutions.
IPython parameter conversion notebook In OptiNiSt version 2, the parameter input structure has been reorganised. Workflows created in OptiNiSt version 1 and reproduced in version 2, as well as workflow.yaml produced and saved in version 1 and imported in version 2, will not work.
To reproduce a version 1 Workflow, a conversion script is provided, in the form of a IPython notebook. Follow this procedure:
Download workflow from Record tab
Open notebooks/yaml-converter.ipynb
Setup environment following instructions at the top of yaml-converter.ipynb
Convert files using the section at the bottom of yaml-converter.ipynb
Upload converted .yaml files on OptiNiSt Workflow page
input_file = ".yaml"
output_file = ".yaml" # any name you want
convert_workflow_file(input_file, output_file)
OptiNiSt wiki FAQ
For responses to common error messages, check the OptiNiSt Wiki FAQ page, and existing issues on OptiNiSt git. Please create an new issue describing anything not covered on these pages.